
Complete Guide to Standing Desk: Everything You Need to Know
Three months ago, I watched my colleague Sarah massage her lower back for the fifth time that morning. “Another rough night?” I asked. She shook her head. “It’s this chair. I’ve been sitting for eight hours straight, and my body is screaming.” That conversation led me down a rabbit hole that changed how I think about workspace setup entirely. The answer wasn’t just about getting a better chair—it was about rethinking the entire concept of how we work.
The standing desk revolution isn’t just a trendy office fad. Research from the American Journal of Public Health shows that prolonged sitting increases mortality risk by up to 40%. But here’s the thing: standing all day isn’t the solution either. The real magic happens when you understand how to create a dynamic workspace that moves with you.
Why Your Current Desk Setup Is Sabotaging Your Health
Let me paint you a picture. You sit down at 9 AM with your coffee, ready to conquer the day. By 11 AM, your shoulders are creeping toward your ears. By 2 PM, you’re shifting in your seat every few minutes. By 5 PM, you stand up and feel like you’ve aged ten years. Sound familiar?
The problem isn’t just sitting—it’s static positioning. Your body wasn’t designed to hold any single position for hours on end. When I interviewed Dr. James Chen, an occupational health specialist, he told me something that stuck: “The best position is the next position.”
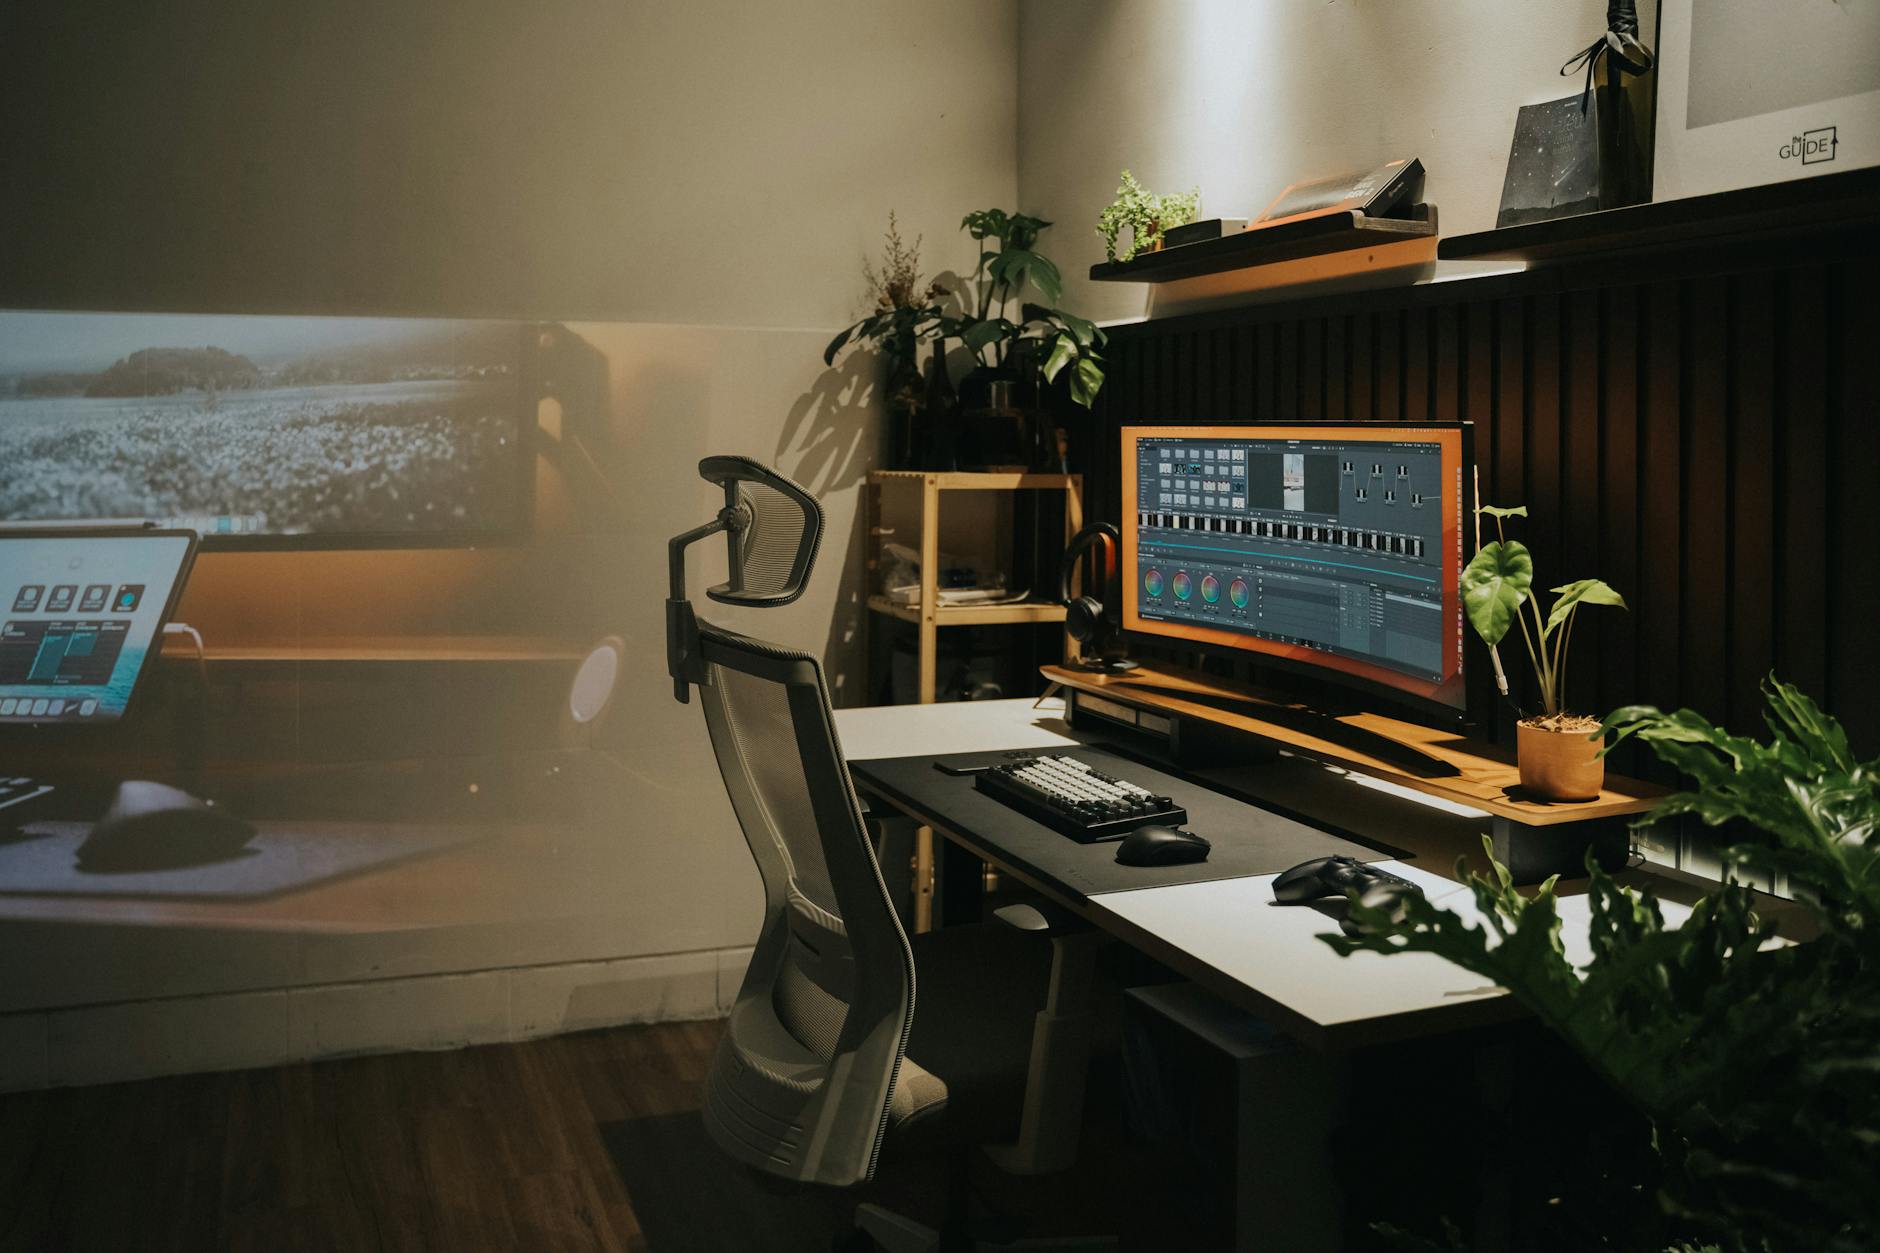
Understanding Standing Desks: More Than Just a Tall Table
When I bought my first standing desk, I made every mistake in the book. I stood for six hours straight on day one, felt like a champion, then could barely walk the next morning. My calves were on fire, and my feet felt like I’d run a marathon in dress shoes.
A proper standing desk isn’t about replacing sitting with standing. It’s about creating options. Here’s what actually matters:
Types of Standing Desks
- Electric adjustable desks – Push a button, and motors do the work. Perfect if you switch positions frequently throughout the day.
- Manual crank desks – More affordable but requires physical effort to adjust. Great if you change height once or twice daily.
- Pneumatic desks – Use air pressure for adjustment. Quieter than electric but can be finicky with heavier loads.
- Desktop converters – Sit on top of your existing desk. Ideal for testing the waters before committing to a full desk replacement.
What to Look for When Shopping
My friend Marcus spent $800 on a standing desk that wobbled every time he typed. The lesson? Stability matters more than fancy features. When you’re evaluating options, test these critical factors:
| Feature | Why It Matters | Recommended Spec |
|---|---|---|
| Weight Capacity | Determines stability and what equipment you can support | Minimum 150 lbs |
| Height Range | Must accommodate your standing and sitting positions | 25-50 inches for most users |
| Adjustment Speed | Faster transitions encourage more frequent position changes | 1.5 inches per second or faster |
| Noise Level | Important for shared workspaces or video calls | Under 50 decibels |
| Desktop Size | Needs to fit your monitors, keyboard, and work materials | 48-60 inches wide minimum |
The Ergonomic Chair Paradox: Why You Still Need One
Here’s where people get confused. You bought a standing desk, so why invest in an ergonomic chair? Because standing all day is just as harmful as sitting all day. Your body craves variety, not extremes.
I learned this the hard way during my “standing warrior” phase. Two weeks of standing 90% of my workday left me with plantar fasciitis and a newfound respect for proper seating. The goal is a 60-40 split—roughly 60% sitting, 40% standing, adjusted to your comfort.
What Makes a Chair Actually Ergonomic
The term “ergonomic” gets slapped on everything these days. I’ve seen $50 chairs and $1,500 chairs both claim ergonomic superiority. Here’s what actually matters based on my research and painful trial-and-error:
- Lumbar support that adjusts – Your lower back curve is unique. Fixed lumbar support is like buying shoes that don’t come in sizes.
- Seat depth adjustment – There should be 2-4 inches between the back of your knees and the seat edge when you sit back fully.
- Armrest flexibility – They should move up, down, forward, back, and ideally pivot inward. Your shoulders should stay relaxed, not hunched.
- Breathable material – Mesh backs aren’t just trendy—they prevent the sweaty back syndrome that plagues long work sessions.
- Seat tilt mechanism – Allows you to rock slightly, keeping your body in motion even while seated.
Monitor Arms: The Unsung Hero of Desk Ergonomics
I ignored monitor arm recommendations for months. “My monitor sits fine on the desk,” I thought. Then I measured my neck angle during a typical workday and discovered I was looking down at a 30-degree angle for hours. No wonder I had constant tension headaches.
A quality monitor arm changed everything. Suddenly, I could position my screen at true eye level, tilt it to reduce glare, and push it back when I stood up. The flexibility is addictive once you experience it.
Positioning Your Monitor Correctly
The top of your monitor should align with or sit slightly below eye level. When I helped my sister set up her workspace, her monitor was so low she looked like she was reading a book on her lap all day. We raised it six inches, and her neck pain disappeared within a week.
- Distance: Arm’s length away (roughly 20-30 inches)
- Angle: Tilted back 10-20 degrees to reduce glare and neck strain
- Height: Top of screen at or just below eye level when sitting; adjust higher when standing
- Multiple monitors: Arrange in a gentle arc, primary monitor directly in front
Choosing the Right Monitor Arm
Not all monitor arms are created equal. I bought a cheap one first—it sagged under the weight of my 27-inch monitor and couldn’t hold positions. Fifty dollars wasted. Here’s what to check:
| Arm Type | Best For | Considerations |
|---|---|---|
| Single Arm | One monitor setups, minimalist desks | Check weight capacity matches your monitor |
| Dual Arm | Two monitor workflows, programmers, designers | Requires more desk depth for full range of motion |
| Gas Spring | Frequent adjustments, smooth movement | More expensive but effortless to reposition |
| Mechanical | Budget-conscious, set-and-forget positioning | Requires tools to adjust, less flexible |
Keyboard Trays and Wrist Rests: Small Changes, Big Impact
My wrists started hurting about six months into my work-from-home journey. I blamed my keyboard, bought a fancy mechanical one, and the pain continued. The problem wasn’t the keyboard—it was the angle and height.
The Truth About Keyboard Trays
A keyboard tray sounds old-fashioned, like something from a 1990s office catalog. But here’s what I discovered: when your keyboard sits on your desk surface, your shoulders likely elevate to reach it. This creates tension that radiates up your neck and down your arms.
A proper keyboard tray positions your keyboard so your elbows hang naturally at your sides, bent at roughly 90 degrees. Your shoulders stay relaxed, and your wrists maintain a neutral position. The difference is subtle but profound.
Wrist Rest Reality Check
The name “wrist rest” is actually misleading. You shouldn’t rest your wrists on it while typing. Instead, use it during breaks between typing sessions. I keep mine positioned so my palms can rest comfortably when I’m reading or thinking, but my hands lift off when I’m actively working.
Look for these features in a quality wrist rest:
- Memory foam or gel filling – Conforms to your wrist shape without creating pressure points
- Appropriate height – Should match your keyboard thickness so your wrists stay level
- Non-slip base – Stays put during use instead of sliding around your desk
- Washable cover – Because let’s be honest, these get grimy over time
Building Your Perfect Ergonomic Setup: A Step-by-Step Approach
When my company gave us a work-from-home stipend, I made the mistake of buying everything at once. I had a standing desk, new chair, monitor arm, and accessories delivered the same week. The result? I was overwhelmed and set nothing up correctly.
Here’s the approach I wish I’d taken, which I now recommend to everyone:
Phase 1: Start With Your Chair (Week 1-2)
Get your sitting position dialed in first. Adjust your chair height so your feet rest flat on the floor. Position the lumbar support where your lower back naturally curves. Set armrests so your shoulders relax. Spend two weeks getting comfortable with these adjustments before changing anything else.
Phase 2: Add the Standing Desk (Week 3-4)
Now introduce standing intervals. Start with just 15 minutes every hour. Seriously, that’s it. I see people try to stand for two-hour stretches on day one and burn out by day three. Gradually increase your standing time as your body adapts. By week four, aim for 30-40 minutes of standing per hour.
Phase 3: Optimize Your Monitor Position (Week 5)
Install your monitor arm and spend a week fine-tuning the position. You’ll notice you prefer different heights and angles when sitting versus standing. Save these positions mentally or mark them with small pieces of tape as reference points.
Phase 4: Refine With Accessories (Week 6+)
Add your keyboard tray and wrist rest last. By now, you understand how your body moves throughout the day and can position these accessories to support your natural workflow rather than fighting against it.
Common Mistakes That Sabotage Your Ergonomic Investment
I’ve watched dozens of people set up ergonomic workspaces, and the same mistakes pop up repeatedly. Here are the ones that matter most:
The “All or Nothing” Trap
Standing for eight hours straight isn’t heroic—it’s harmful. Your feet, legs, and back need breaks just like they do from sitting. The sweet spot for most people is alternating every 30-45 minutes. Some days I stand more, some days I sit more, and that’s perfectly fine.
Ignoring Your Feet
When I started using my standing desk regularly, I wore the same dress shoes I’d worn while sitting all day. Big mistake. Invest in a cushioned anti-fatigue mat and consider keeping a pair of supportive shoes at your desk specifically for standing sessions. Your feet are your foundation—treat them accordingly.
Setting Up Once and Forgetting
Your body changes throughout the day. You’re taller in the morning (seriously, you compress throughout the day). You’re more flexible after lunch. Your energy levels fluctuate. Don’t be afraid to adjust your setup multiple times daily. Those adjustment buttons exist for a reason.
Neglecting Movement Breaks
Even with a perfect ergonomic setup, you still need to move. I set a timer that reminds me every hour to walk around for five minutes. Get water, do some stretches, look out a window. Your body isn’t designed to be a statue, even a well-positioned one.
Making It Work in Real Life
Theory is great, but let me share what actually happens in my workday now, six months into my optimized setup. I start sitting, coffee in hand, easing into emails and planning. Around 10 AM, I raise my desk and stand for my first video call—standing naturally makes me more energetic and engaged on camera.
By 11 AM, I’m back to sitting for focused work that requires intense concentration. I adjust my monitor slightly closer and tilt it down a few degrees. Lunch happens away from my desk entirely—non-negotiable. Afternoon brings another standing session, usually during less demanding tasks like reviewing documents or organizing files.
The beauty is that none of this feels forced anymore. My body tells me when it’s time to switch positions, and my setup makes that transition effortless. Some days I stand more, some days less. The flexibility is the point.
Your workspace should adapt to you, not the other way around. Start with one change—maybe it’s finally adjusting that chair properly or trying a standing interval. Pay attention to how your body responds. Add another element when you’re ready. Six months from now, you might find yourself writing your own guide about how you transformed your relationship with your workspace. Your back, neck, and wrists will thank you for starting today.
fdz5zk
8evi4x
rrpjch
qyym10
u0nq8l
jbumh6